The most precious gardening resources are water, soil and sunlight. How can we have a ripper productive garden through summer and not squander Perth’s rare two of the three most precious resources – water or soil nutrients?????
We went down the path of investigating wicking beds. The theory is that they capture the water which would otherwise quickly seep down through our sandy soils (away from our plant’s roots) taking our hard fought, invaluable nutrients with it. Once captured in the base of the wicking bed, the capillary action of the soil holds and draws up that same nutrient ladened water as necessary to meet the needs of the plants.
We found that a wicking bed can be produced on any scale and its design can be adjusted to cater to the size of the container or garden bed desired.
In constructing these beds, we (the royal we!) focused on keeping costs low, reusing discarded materials and, in the case of the larger garden beds, the longevity of the bed (in combination with the impact the bed material has on the quality of the soil – I’ll explain more on this later). So you will see we have evolved (after much trial and error) to food grade import olive barrels cut in half, old styrofoam fruit boxes and with the bigger beds, clay as the liner.
The wicking bed barrels and small boxes are not meant to be any more sophisticated than a self watering pot, but on a potentially larger more cost effective scale.
What’s a wicking bed?
Have a squizz at the diagram below while you read the following to get a picture of what I mean. Further down I have included specific examples of the types we have used which will also clarify things much better than a bunch of words. If you get bored, scroll further down to the colourful pictures. Apologies for the depth I have gone into, consider this my study notes for you to take what you want from. Here goes…..
A wicking bed consists of a Reservoir Zone at the base which is within a water tight container or bed liner (e.g. clay, black plastic, pond liner, old bath tub …) and consists of a spacer material to hold up the soil and leave a free water reservoir for ongoing supply of soil moisture. The water can be delivered to the reservoir by either just watering the top of the container (smaller containers and barrels) or by including a hose with perforations in it (we use slotted agricultural pipe, but anything tubing can be punched with enough holes to fill bed and not scale up over time) within the design to delivery water directly to the reservoir. The Reservoir Zone has a very important drain hole at the top to prevent flooding when too much water flows into the bed (e.g. heavy rains – which might otherwise float your plants right out of the bed!).
The base of the Reservoir needs to be flat to ensure that there is an even water delivery the length and breadth of the bed otherwise some plants might get too much water whilst others get too little.
Depending on the size of the bed/container, you may or may not need a Reservoir/Soil Interface mat on top of the spacer material. This mat (normally used in the larger garden beds) acts to minimise the silting/sanding up of the reservoir zone, taking up the space otherwise designated as water holding capacity.
Above the Reservoir (and interface mat, if applicable) is the Soil Zone. For the container based wicking beds, it is recommended that a potting mix is used (use one containing zeolite, cocopeat/coir, vermiculite – we use Green Life Soil’s Potting Mix which is available on-line (note that they have not paid us for free advertising!) or you can pick it up from Absolutely Organic (note that the Permaculture Nut is employed there to help them with their kitchen garden – he might be there if you want to ask questions! I promise to declare if I have a vested interest in anything I/we recommend.). The problem with normal vegetable mix is all of the small mobile bits of carbon silt down through the soil and clog up the reservoir zone, hence a non-compacting potting mix is recommended. You can make up for the lack of fertility in this mix by adding compost and manures as a top dress with each crop – the water will take the nutrients through the mix and the capillary action will delivery it to the plant roots.
For larger garden beds, then grab some of that beautiful soil we have been cultivating in other parts of the garden. The larger beds are longer term producers and the speed at which they start pumping out the crops will depend on the initial soil. Starting with poorer soil (i.e. bacteria poor) and composting/manure application will result in a fabulous bed in 3-6months rather than adding beautiful (but expensive for the volume required, if you have not cultivated it yourself) rich soil (i.e. bacteria rich) immediately and getting a yield within a month.
And there you have your very own water table watering system (aka a larger scale self-watering pot).
Please note, whenever I say “organic”, I mean containing organic material (e.g. Organic Soil), not necessary a certified organic product.
Depths defined in the schematic are all dependent on the size of the container and the duty of the wicking bed. The higher the water zone the more water it holds and the less frequently you will need to top it up (NOTE: Don’t empty the reservoir and avoid overflowing out the drainage point as much as possible – this is removing the nutrients that have been rinsed out of the soil). The deeper the soil, the more dependent you are on capillary action and the more you will need to “top down” water seeds and seedlings to get them started.
Why use a wicking bed?
To grow food in Perth you must cycle your soil fertility and stop water/nutrients leaching through our sandy soils. Wicking beds stop the nutrient laden water from leaving the root zone and allow the roots/soil to take it back up as the plant’s needs. They act like a natural water table passively keeping soil moist.
Why a wicking bed might not suit you?
Stored nutrient rich water in the reservoir zone allows anaerobic bacteria to develop. This occurs if the reservoir is does not dry during the watering cycle – i.e. there is a permanent body of water. Anaerobic digestion processes lead to a “pond muck” smell. Having said that, we have not had an issue with this and, to be honest, with our in-ground beds, who knows if they get dry at any point? In the smaller pots and barrels which you might have closer to the house or in a more enclosed courtyard, this smell can be minimised by not overflowing your reservoir and hence allowing the smelly water to exit the pot – water exiting the pot is a removal of nutrients so avoid this, smelly or not! This is, of course, unless nature does it for you with a heavy downpour, in which case you are will have a very dilute overflow and are unlikely to have issue anyway.
Having said that, it is important to understand where any overflow is going to go from this drain hole for aesthetic reasons… i.e. if you have light bricks you may end up with staining from the nutrients. So think about your location and needs – perhaps having a bucket in place (so you can put the nutrients lost from the wicking bed elsewhere in your garden) or place the bed so that the drain hole is above a mulched or grassed area.
If you are worried at all about smell, start with a small system and see how you go. We have not needed to do anything special, but if you are worried then there are various options you can consider. One being the discussions within the Permaculture community occurring at the moment (mainly for those is warmer wetter climates than ours i.e. QLD) who are looking at using Bokashi to manage the effect of the anaerobic digestion. Feel free to research it yourselves (or I can do a feature on it at a later date), but as far as I can tell Bokashi refers to a select group of microorganisms – fermenting cultures – which compete with the other anaerobic bacteria to process the organic matter available. The difference being that these cultures break down the organic matter in a way that is odourless.
Wicking beds are prone to being always wet environments, therefore if the plants prefer freely draining soil and roots are prone to rot, then this is not the bed for them.
Similarly fruit trees and large long-term perennials will struggle due to the shallow soil depth and tendency for the root ball area to collapse over time. For these situations the Nut recommends putting a single drain point 1″ up from the base of the pot and not bothering with the water zone / wicking arrangement. This stops the root ball drying out and shrinking away from the sides of the pot with the water bypassing around the roots by going down the side of the pot and going out the holes in the bottom of the “normal pots”. I.e. giving the water a longer residence time to hydrate the roots but with a limited volume stored in the pot base.
Carrots generally don’t to well in wicking beds either as they have no incentive to grow down for food or water…. with comical, but rather disappointing results!
What can a wicking bed be made out of? This is what we have done…..
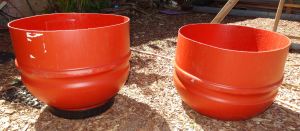
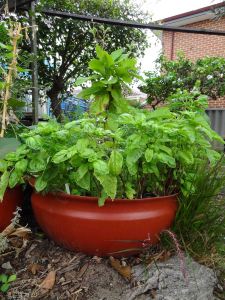
FOOD GRADE (OLIVE) BARRELS – cut in half (i.e. so you get two) or 3/4 barrel if you want more soil zone.
We found in half to be the best performer and you get two for the price of one.
 General design applied to the barrel – note that this example is using a 3/4 barrel.
Some wins….
Alternate ways to use barrels???
Sideways wicking beds – dried out very quickly due to very small reservoir and barrels get very floppy and difficult to work with – so you need to brace them (we reckon blue barrels would be better for this vertical cut, but have never tried it as we like to stick to our food grade olive barrels). Put this one down as a failure, but might work well as just a liner in the ground or in a greenhouse, but bear in mind the reservoir will only be to the lip of the lid – i.e. tiny.
Barrels are great as cheap small edible plant pond liner too.
STYROFOAM BOXES –
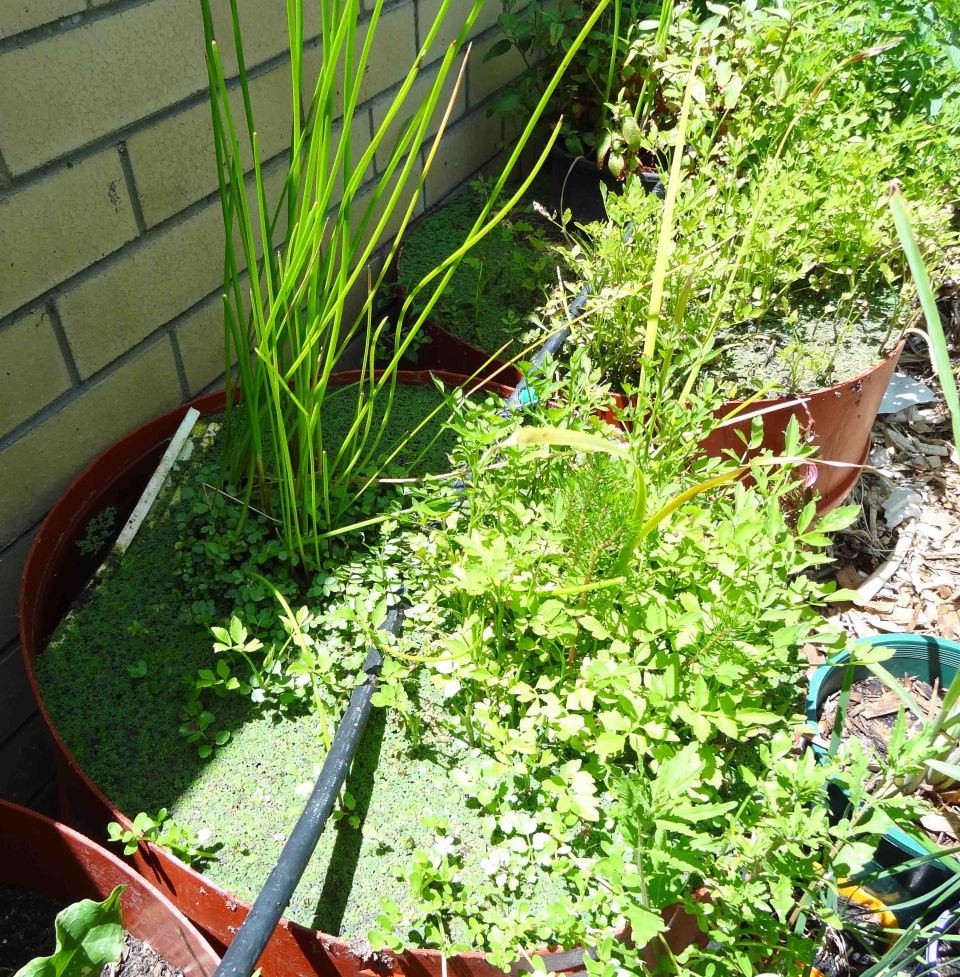
A mix of barrels and boxes depending on need and desire plant size (Kitchen garden at Absolutely Organic Store, Gwelup):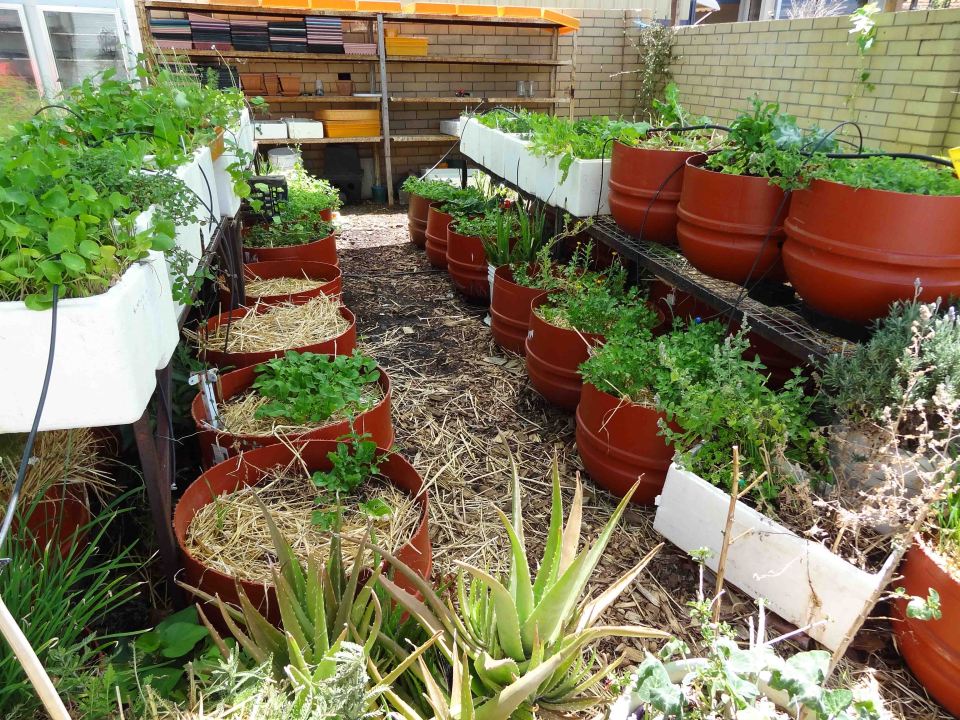
GARDEN BEDS –
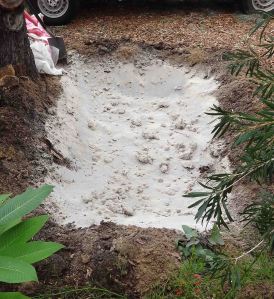
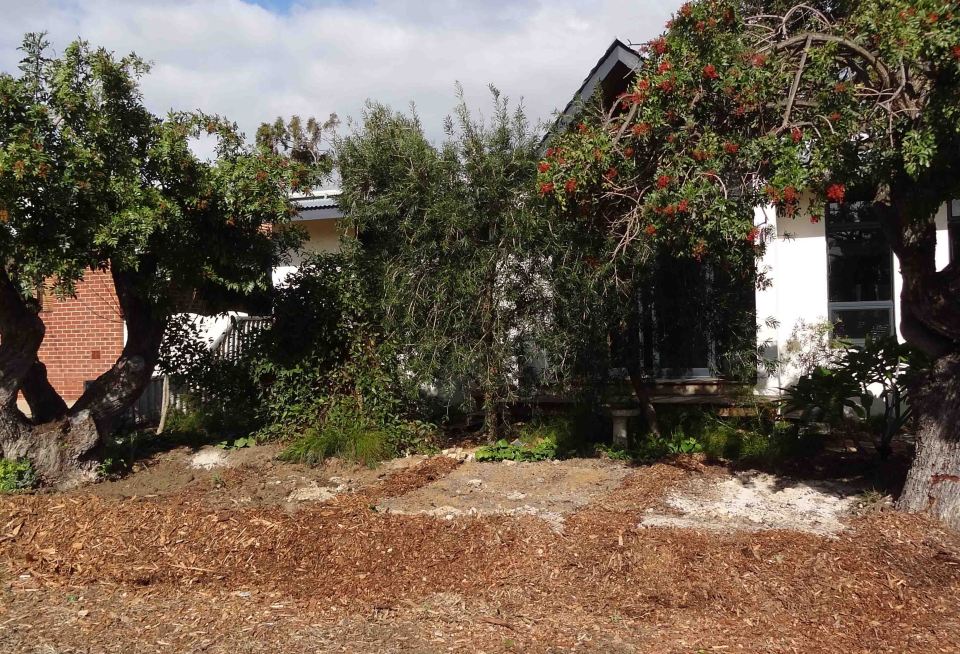
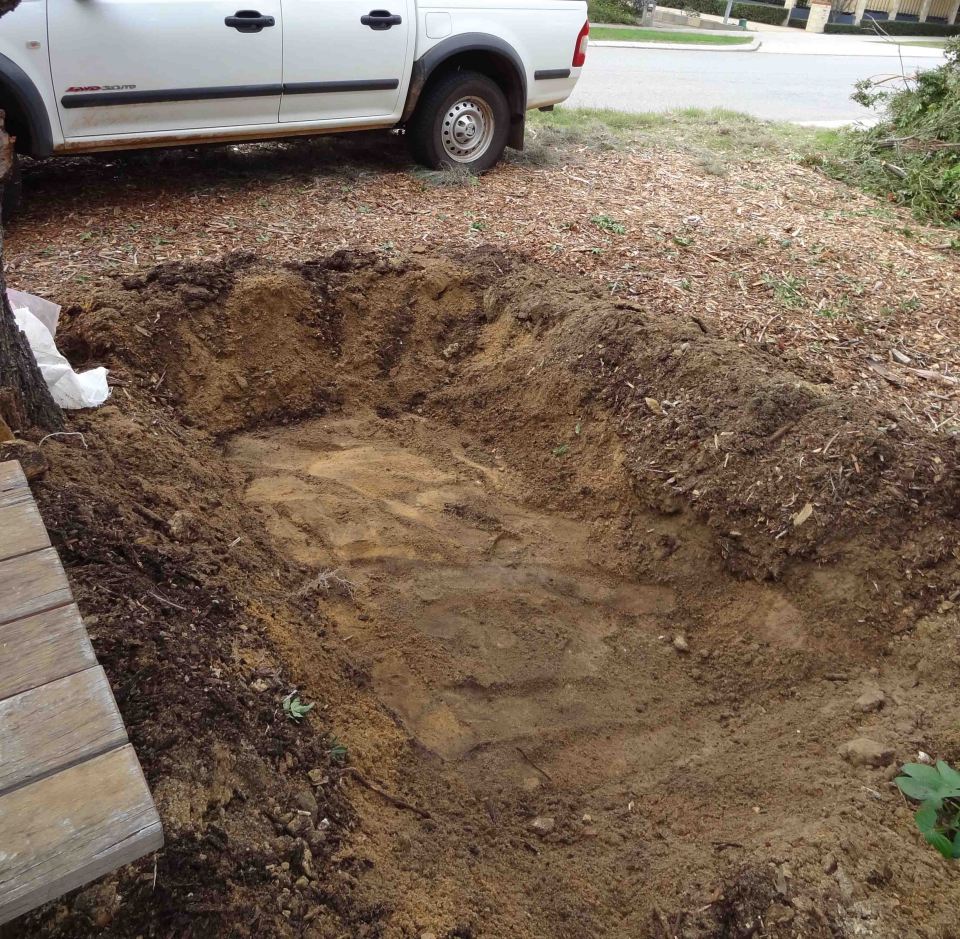 Dug a hole, Dad! (CONSTRUCTION – June 2012)
1) Lined it with clay.
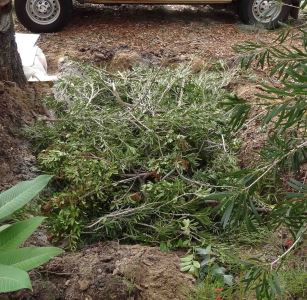
2) Filled it with “woody waste” – spacer (main)
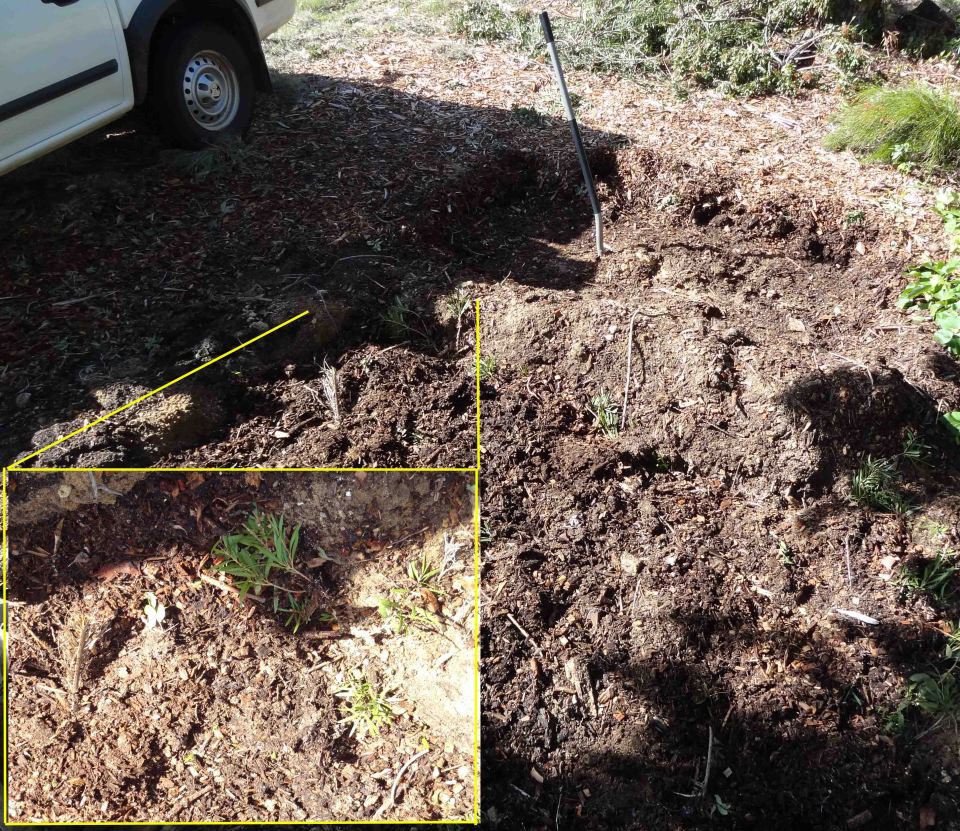 Covered it with coarse tree mulch – spacer (in between woody waste as spacer and to support soil). Then dug another hole, Dad!
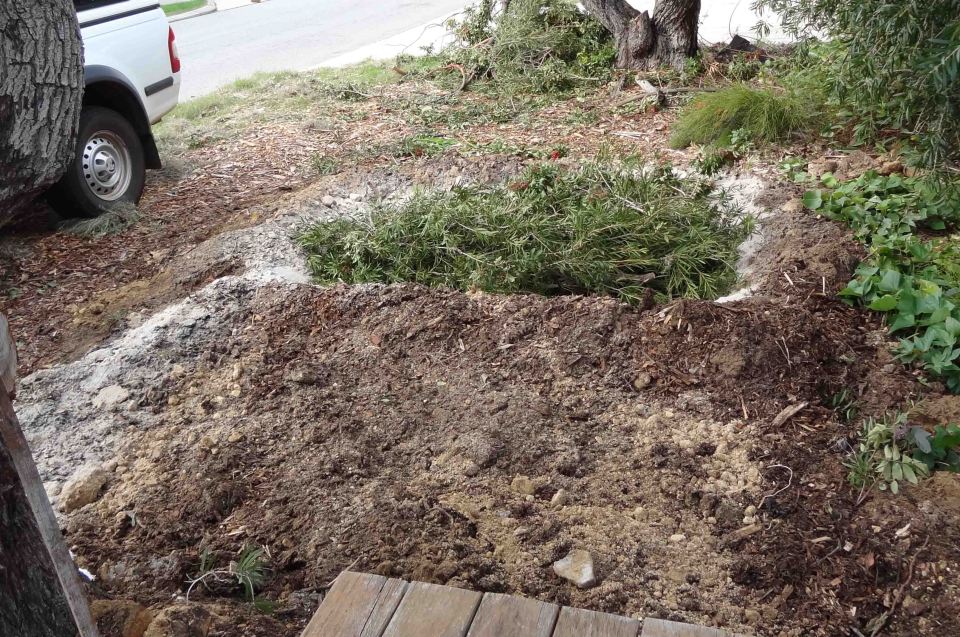 First bed now covered in soil. Second Bed clay lined and “woody waste” filled.
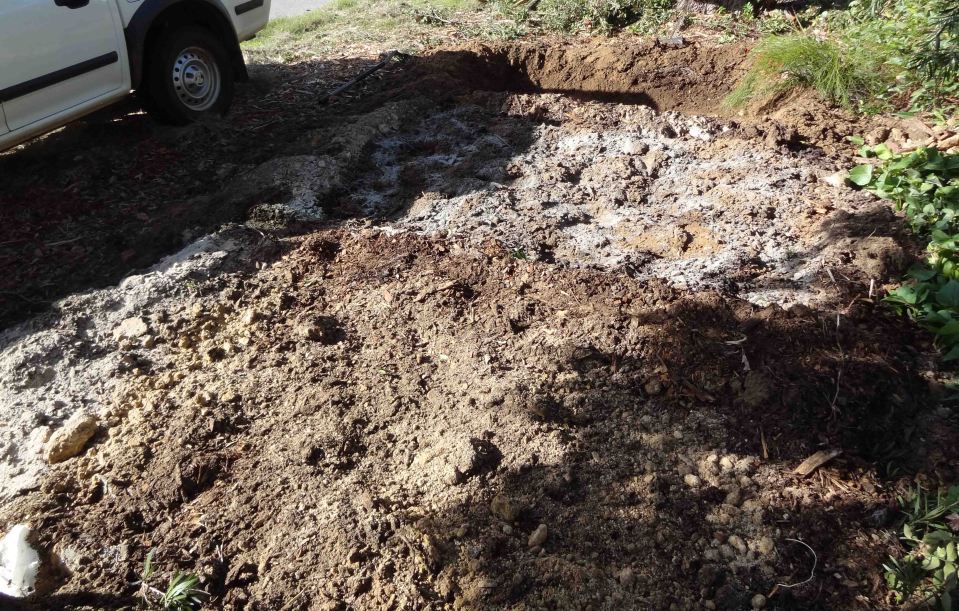 You’ll notice in this picture, there is a step were bentonite clay, rock dust and kelp are sprinkled on top of the coarse tree mulch. The shot below shows it put on top of the soil for the first bed. Trial and error – act, observe, adjust….
You may wish to topdress with a purchased vege concentrate mix, or compost, bring in your prepared soil (full of bugs and fungi etc) from else where in the garden, or spend the first few months growing the soil with green manure prior to planting. As this was to be a feature for the street and we wanted to encourage a little community interaction (not to say wanting to keep the council on side!), we went for the quick more expensive option of purchase vege concentrate. Out the back, where things could be bare for longer, we used the other two tactics with significant success.
All done – and, yes, we had to assure the neighbours that we had not buried two portly and two skinny gentlemen in our front verge!
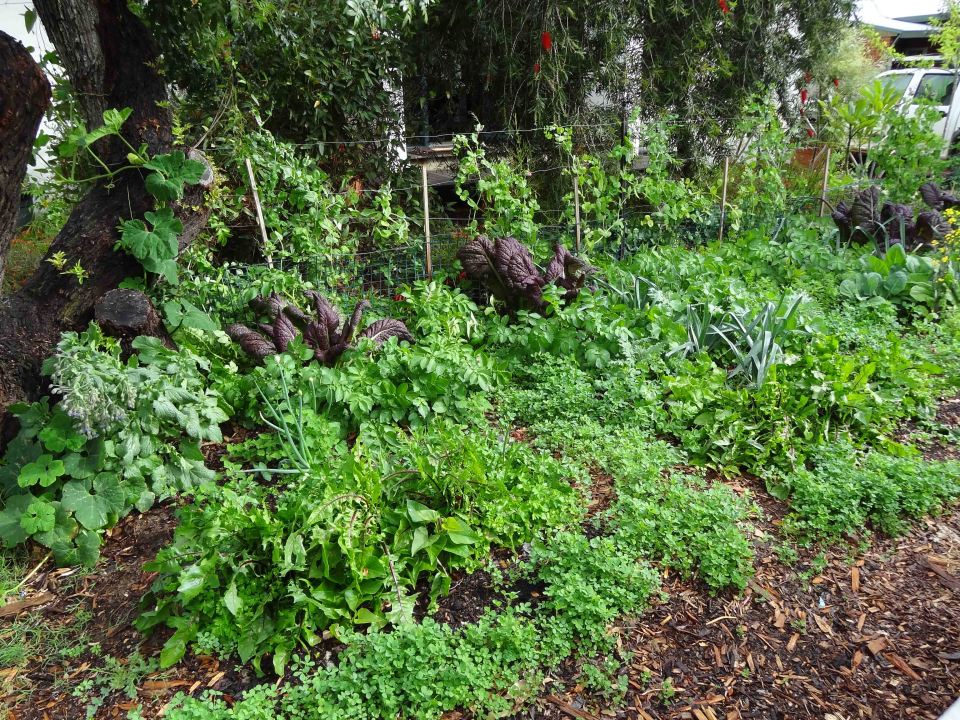
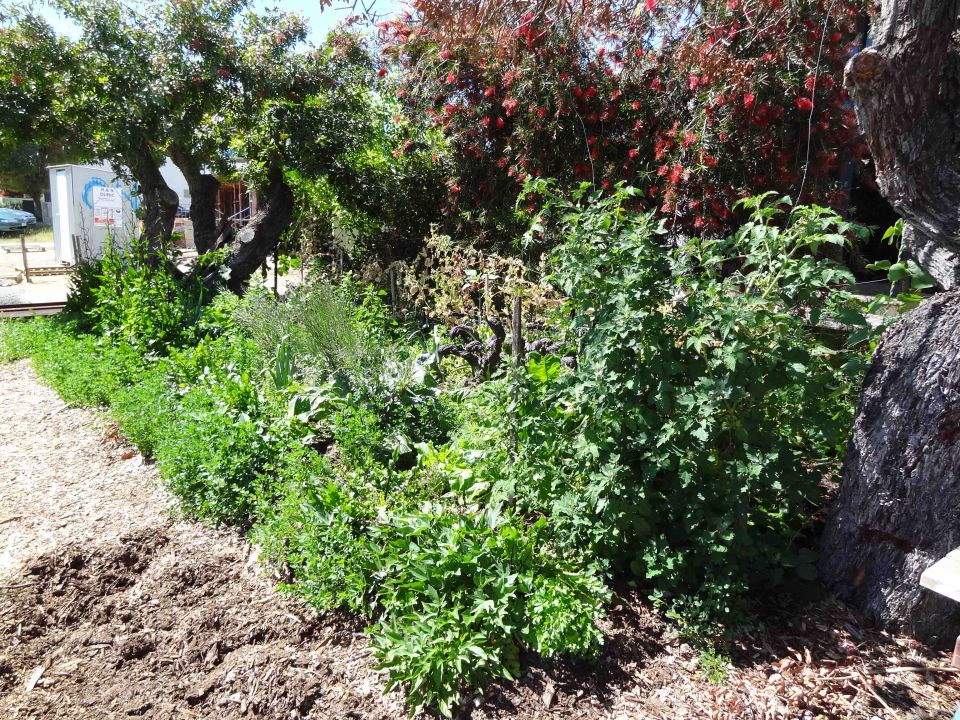
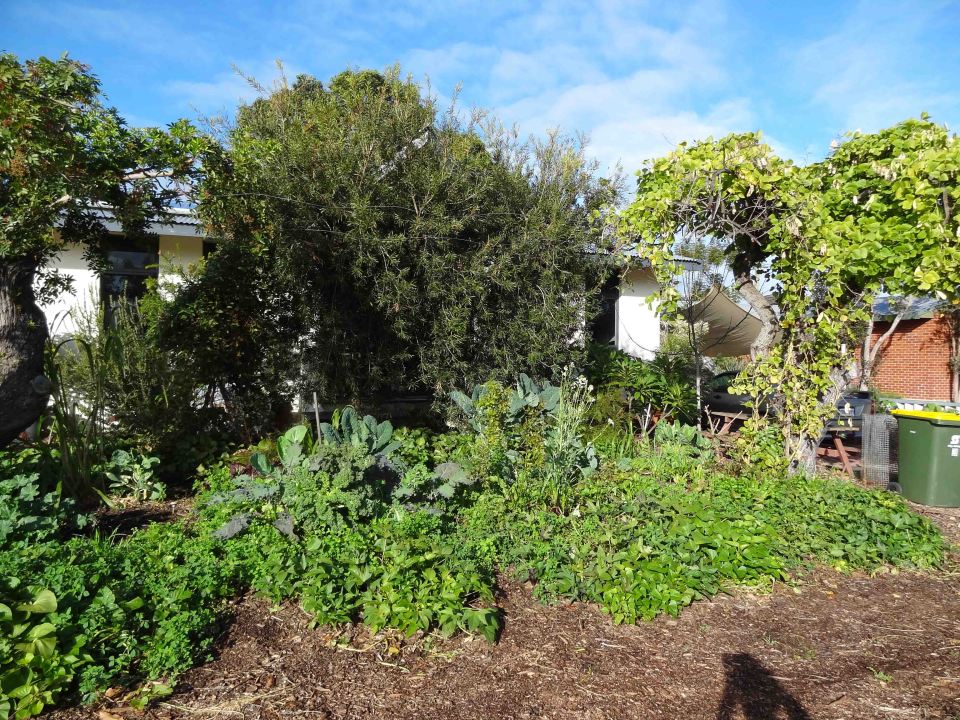
Then comes….. (Remembering that the construction date was June 2012)……
SEPTEMBER 2012
OCTOBER 2012
JUNE 2013
NOVEMBER 2013
AUGUST 2014 – note the expansion of the beds to the left and the cascade of sweet potato forward. Farewell to my native front garden. 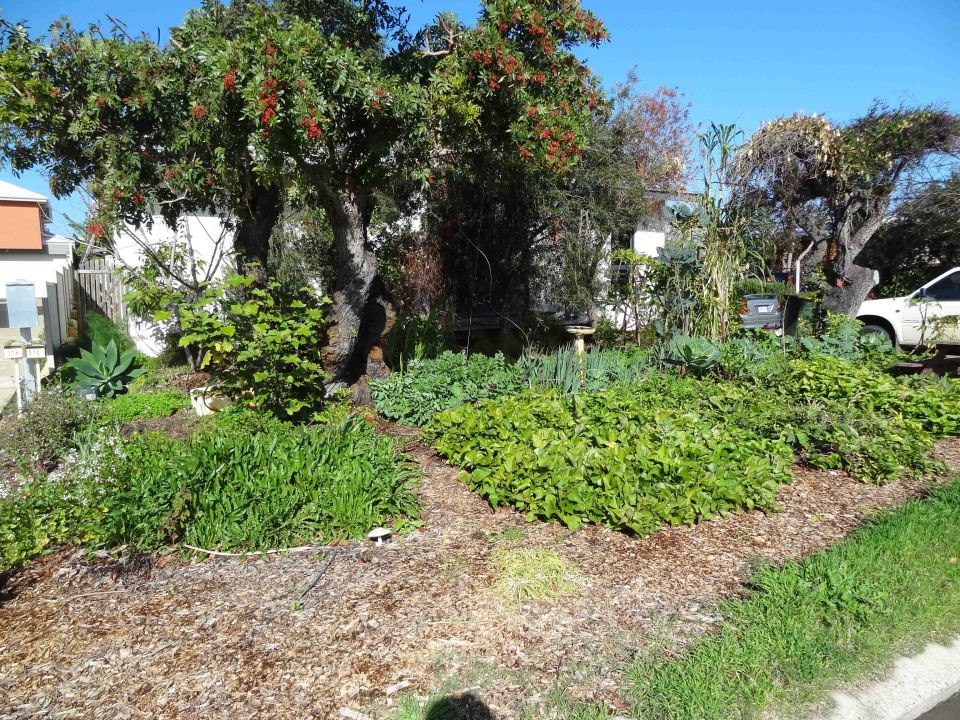
Components Options:
Clay liner – The clay is put in and the water, used to fill the reservoir, causes the clay to expand into a water tight lining. Where there are leak points, the free clay is washed with the leaking water to the holes and is deposited at the gap, eventually filling it. This means that although the bed is more fragile and the clay liner may get damaged by walking on top of the bed, digging in the bed or having roots escape through the base of the bed, the clay has a chance of repairing the smaller holes.
Additionally clay is great for our sandy soils and hence we are adding to the future health of our system by putting the clay in. It does not need to be removed.
Plastic – Plastic of any form (pond liner plastic, actual pond liners, builders plastic) will provide an immediate seal, could be regarded as more resilient to damage due to walking on and may prove easier to achieve a flat base on your bed. However once damaged, your bed will not hold water; the use of plastic effects your choice of spacer as piercing the bed early in construction would be a disaster; the plastic adds nothing positive to the soil in the long-term and the plastic needs to be removed and disposed of at the end of bed life.
Having said that, in beds that are adjacent to a Super Six fence, plastic lining is essential as the fence acts as a better wick than the soil and will become the preferred path of water migration, accelerating the drainage of your reservoir.
Crappy soil – Crappy soil can be put in and composted / manured to develop the soil in situ. This will result in the bed taking 6 months to reach full production then about 18 months of high yield depending on your ongoing support. After this time it is likely that the tree roots are escaping the bed and the garden evolves into a more for long-term productive system of bush and canopy type produce. Not a bad outcome really.
Our experience –
We (and by we, I mean Charles!) cut our teeth on the wicking systems with large-scale garden beds lined with builders plastic and since have evolved to clay unless there is a reason why plastic is essential. We have also adapted the method too much smaller gardens by testing out different containers and have come to the conclusion of small areas, (or large areas where cost is limited) and where rearrangement might be required, the food grade barrels win hands down.
Whilst rectangular beds are still very much the norm in community gardens, these half barrels allow you to start small and grow in a modular manner to limit the cost commitment of an evolving community activity. They also are a strong, cheap and simple reservoir system which is white ant proof and UV stable. Plus they are mobile to enable you to adapt to changes in season, purpose and sometimes just a whim. They also can be used (or/and reused) cheaply and effectively for various other activities e.g. pond liners, small rain collection points. Having said all that, they are not as glamourous (or expensive) as wine barrels and therefore tend not to be “borrowed” from public gardens.
Before you ask, no, we don’t have shares in a company that sells these barrels and, whilst we like these olive barrels (which were once a waste product, but are now becoming more sort after for purposes such as this! Infact the price has gone up for us as a result of their popularity – curses!), you can use your imagination with what you use. We have found Gumtree very helpful for ideas.
Other Info?
Most of the info above on wicking barrels can be heard straight from the horse’s mouth on the attached video. For interest you can also see the linked video of Charles talking through a wicking barrel which has been in action for a while, but seems have been drying out faster than the other barrels. It gives a great visual of the structure for those who like more pictures than words.
There are free notes available on this if you want to learn more or get more technical at the Terra Perma “Free Workshop Notes” website (oddly enough!). Not a sales pitch, just a page to wander through at your leisure.





Fantastic explanation. Thank you for the detail and the pics. Went to Charles talk on self wicking beds and intro to perma at stirling council. So glad I found your blog. Will be sharing. Happy gardening . michelle
LikeLike
So pleased you liked the blog and Charles’ talks as much as we did delivering them. Thanks for the feedback.
LikeLike
Pingback: Planting in Spring…. Surviving through Summer – Wicking Bed Summer Follow Up (Did we survive?) | The Soil Hugger's Journey